
Introduction to Red Velvet Cheesecake
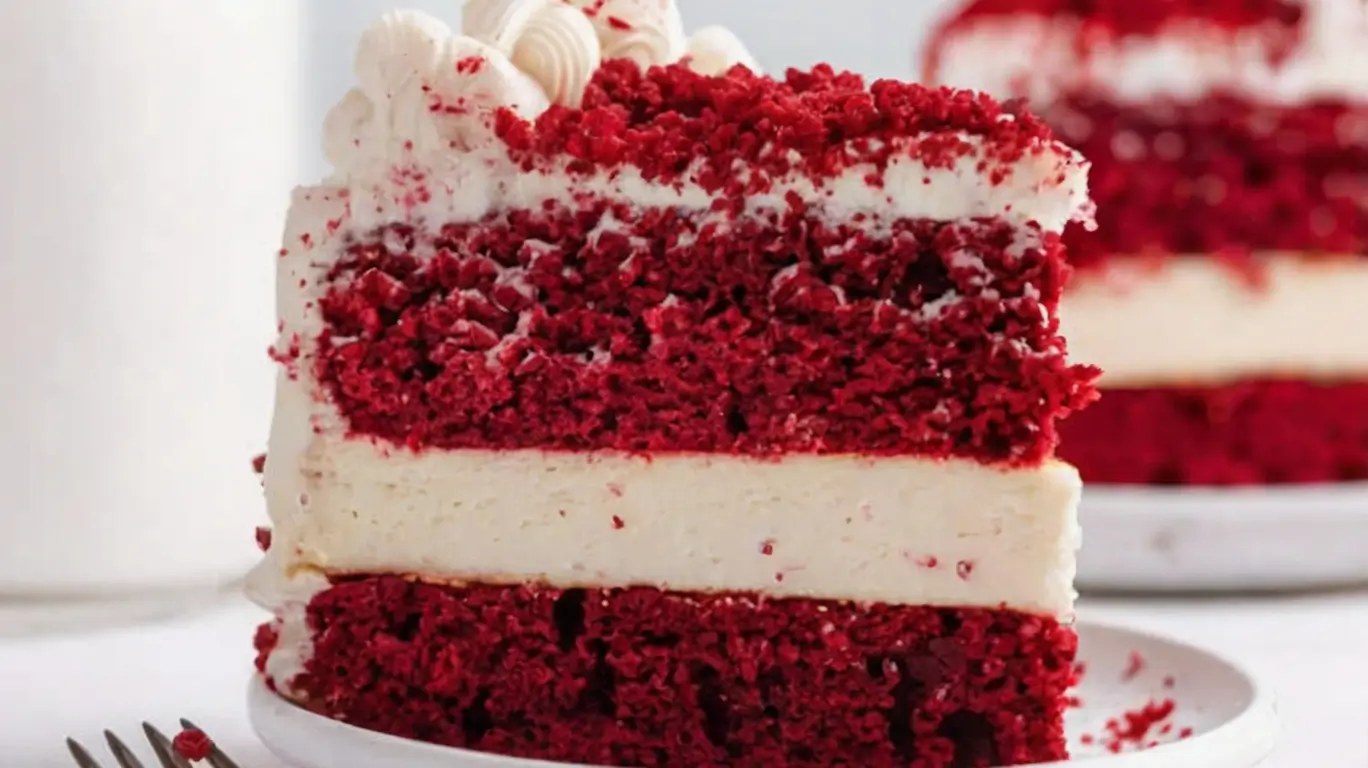
The Red Velvet Cheesecake is the ultimate dessert that beautifully blends two iconic cakes: red velvet cake and cheesecake. With its smooth, velvety texture and vibrant red color, this dessert is guaranteed to wow anyone who sees it—and even more so when they take a bite! Imagine the light, cocoa-flavored red velvet cake paired with a rich, creamy cheesecake filling. It’s a match made in heaven.
Unlike traditional cheesecakes that can be a bit dense, Red Velvet Cheesecake has a soft, airy texture that makes it feel just a bit lighter, while still delivering all the creamy goodness you expect. It’s a showstopper at birthdays, holidays, or just whenever you want to treat yourself to something a little extra special.
So, how exactly do you make this delicious treat? Let’s break it down!
Ingredients for Red Velvet Cheesecake
To make a Red Velvet Cheesecake, you’ll need a few simple ingredients. The base is made from red velvet cake—which, if you’re familiar with red velvet cake, usually has a mix of flour, cocoa powder, and buttermilk. But for this cheesecake, there are a few extra special touches to make it just right. Here’s what you’ll need:
For the Red Velvet Cake Layer:
- 1 ½ cups all-purpose flour
- 1 ½ cups granulated sugar
- 1 tbsp cocoa powder
- 1 tsp baking powder
- ½ tsp baking soda
- ½ tsp salt
- 1 large egg
- 1 cup buttermilk
- 1/2 cup vegetable oil
- 1 tbsp red food coloring
- 1 tsp vanilla extract
- 1 tsp white vinegar
For the Cheesecake Layer:
- 3 packages (8 oz each) cream cheese, softened
- 1 cup granulated sugar
- 3 large eggs
- 1 tsp vanilla extract
- 1 cup sour cream (for extra creaminess!)
Pro Tip: If you want to make your Red Velvet Cheesecake even more decadent, you can top it with a layer of whipped cream or a drizzle of chocolate ganache. You’ll love the extra indulgence!
Step-by-Step Guide to Preparing Red Velvet Cheesecake
Making a Red Velvet Cheesecake might sound complicated, but don’t worry! Once you break it down into simple steps, it’s actually a fun and straightforward process. Follow these steps, and you’ll be enjoying your delicious cheesecake in no time.
Step 1: Preheat and Prepare Your Pans
Start by preheating your oven to 325°F (165°C). Grease and line a 9-inch springform pan with parchment paper to prevent the cheesecake from sticking. This will also make it easier to remove once baked.
Step 2: Prepare the Red Velvet Cake Layer

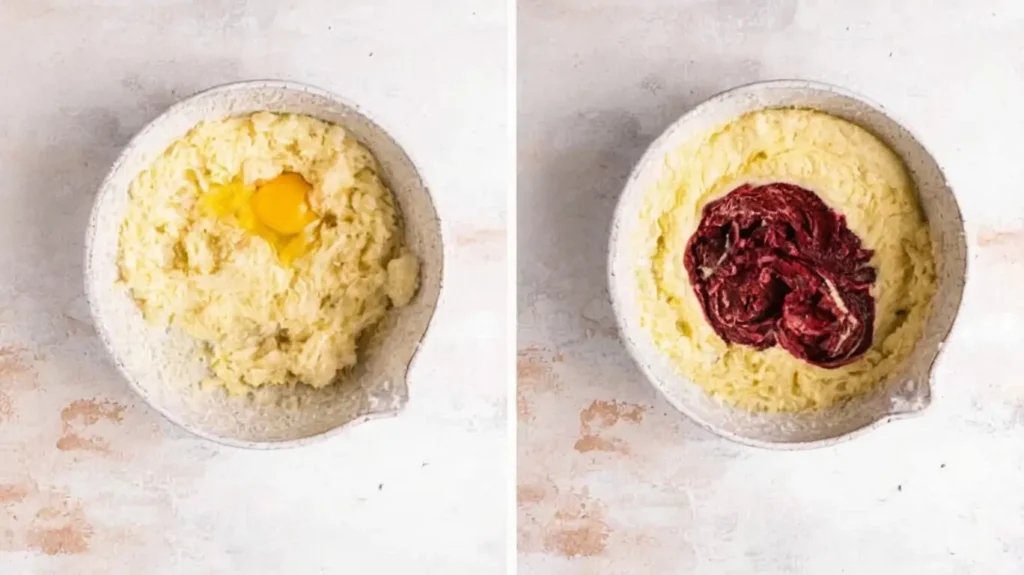
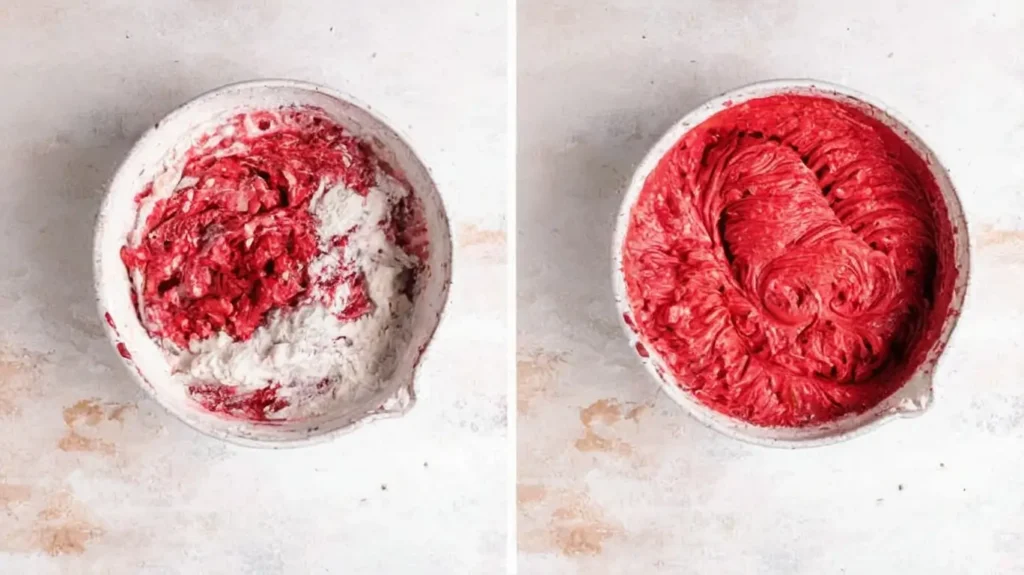
In a medium-sized bowl, whisk together the flour, sugar, cocoa powder, baking powder, baking soda, and salt. In a separate bowl, beat together the egg, buttermilk, oil, red food coloring, vanilla extract, and white vinegar until smooth. Gradually add the wet ingredients to the dry ingredients, mixing until fully combined.
Once your red velvet batter is ready, pour it into the prepared springform pan. Bake for about 25-30 minutes, or until a toothpick inserted into the center comes out clean. Once done, let the cake layer cool completely while you prepare the cheesecake filling.
Step 3: Make the Cheesecake Filling
In a large bowl, beat the softened cream cheese and sugar together until smooth. Add the eggs one at a time, mixing well after each addition. Stir in the vanilla extract and sour cream. The mixture should be thick and creamy.
Step 4: Assemble the Cheesecake
Once the red velvet cake has cooled, pour the cheesecake filling over the top of the cake layer in the pan. Gently smooth out the top with a spatula. Tap the pan on the counter to release any air bubbles.
Step 5: Bake the Red Velvet Cheesecake
Bake the cheesecake in the oven for about 50-60 minutes, or until the edges are set and the center is slightly jiggly. You don’t want it to be too firm—this helps give it that creamy texture we love.
After baking, turn off the oven and let the cheesecake sit inside with the door slightly ajar for about an hour. This will help prevent cracking. Once the cheesecake has cooled, chill it in the refrigerator for at least 4 hours (or overnight for best results).
Step 6: Serve and Enjoy
Once your Red Velvet Cheesecake has chilled and set, it’s ready to serve! Remove it from the springform pan, and if you like, decorate the top with whipped cream, chocolate ganache, or even some red velvet cake crumbs for extra flair.
Looking for more dessert ideas? Try additonnal Recipes HERE !
Baking and Cooking Tips for Perfect Red Velvet Cheesecake
Baking a Red Velvet Cheesecake is an art, but with a few simple tips, you’ll be able to achieve the perfect texture and flavor every time. Here are some tips to make sure your cheesecake turns out perfectly:
Tip 1: Use Room Temperature Ingredients
For the creamiest filling, it’s essential to use room temperature cream cheese and eggs. Cold ingredients can cause the cheesecake filling to be lumpy or uneven. So, take the cream cheese and eggs out of the fridge about 30 minutes before you start baking.
Tip 2: Avoid Overmixing the Cheesecake Batter
When making the cheesecake filling, mix only until everything is well combined. Overmixing can incorporate too much air, which may cause your cheesecake to crack while baking.
Tip 3: Don’t Overbake the Cheesecake
To ensure your Red Velvet Cheesecake stays creamy, avoid overbaking it. The center should be slightly jiggly when you remove it from the oven—this ensures that it will firm up as it cools and chill in the fridge.
Tip 4: Chill the Cheesecake Overnight
For the best results, let your cheesecake chill in the fridge overnight. This gives the flavors time to develop and helps the cheesecake set perfectly. If you’re in a rush, chilling it for at least 4 hours will still work.
Tip 5: Use a Water Bath (Optional)
If you want to prevent cracks on the surface of your Red Velvet Cheesecake, consider using a water bath. Wrap the bottom of the springform pan in foil to prevent leaks, and place the pan in a larger baking dish filled with hot water. This will create a moist baking environment that helps your cheesecake bake evenly.
Tip 6: Add Some Extra Flavor
Feel free to get creative with your Red Velvet Cheesecake by adding flavor to the crust or cheesecake filling. You can mix in a teaspoon of cocoa powder into the crust for an extra chocolatey base, or add a hint of lemon zest to the cheesecake filling for a refreshing twist.
Red Velvet Cheesecake Decorating Ideas
Here’s a table summarizing the top decorating ideas for your Red Velvet Cheesecake:
| Decoration | Description |
|---|---|
| Whipped Cream Topping | Pipe fluffy whipped cream around the edges for a soft and elegant look. |
| Red Velvet Crumbles | Crumble leftover red velvet cake or cupcakes to add texture and color. |
| Chocolate Ganache Drizzle | Pour smooth chocolate ganache over the top for a beautiful contrast. |
| Fresh Berries | Add fresh raspberries or strawberries to balance sweetness with a tart flavor. |
| Sprinkles or Edible Glitter | Top with edible glitter or fun sprinkles for an extra festive touch. |
Red Velvet Cheesecake Decorating Ideas
Decorating a Red Velvet Cheesecake is one of the best parts of making it! You can get as fancy as you want or keep it simple. The key is to make it look as delicious as it tastes. Here are a few ideas to make your cheesecake extra special:
| Decoration | Description |
|---|---|
| Whipped Cream Topping | Pipe soft whipped cream around the edges for a beautiful and elegant look. |
| Red Velvet Crumbles | Crumble up leftover cake or a red velvet cupcake and sprinkle it on top. |
| Chocolate Ganache Drizzle | Drizzle rich, silky chocolate ganache over the top for a striking contrast. |
| Fresh Berries | Add fresh berries, like raspberries or strawberries, for a burst of flavor. |
| Sprinkles or Edible Glitter | Sprinkle edible glitter or colorful sprinkles for a fun, festive touch. |
These easy decorating ideas will make your Red Velvet Cheesecake not only taste amazing but look fabulous too! The best part is you can mix and match to create your perfect cheesecake masterpiece. Whether it’s for a holiday, birthday, or just a sweet treat for yourself, you’re sure to impress!
Common Mistakes to Avoid When Making Red Velvet Cheesecake
Making Red Velvet Cheesecake is fun, but there are a few common mistakes to avoid to ensure your cheesecake comes out perfect. Let’s take a look at these so you can bake like a pro!
- Overmixing the Batter: When you overmix the batter, air bubbles can form, which might cause cracks. Stir gently and only until everything is just combined.
- Not Using Room Temperature Ingredients: Cold cream cheese and eggs can create lumps in your batter. Always let these ingredients sit at room temperature for 30 minutes before mixing.
- Skipping the Water Bath: A water bath helps your cheesecake bake evenly. Without it, your cheesecake could end up with cracks or an uneven texture.
- Underbaking: It can be tempting to take your cheesecake out early, but it needs to set fully. Look for a slightly jiggly center, which means it’s perfectly baked.
- Not Cooling Properly: After baking, let your cheesecake cool at room temperature before placing it in the fridge. This prevents cracks and ensures a smooth texture.
Avoid these simple mistakes, and you’ll be on your way to making the perfect Red Velvet Cheesecake every time!
How to Store and Preserve Red Velvet Cheesecake
Once your Red Velvet Cheesecake is ready, you’ll want to store it correctly to keep it fresh and delicious for as long as possible. Here’s a simple guide to storing your cheesecake:
- Refrigeration: Always store your cheesecake in the fridge. Keep it in an airtight container or wrap it tightly with plastic wrap to prevent it from drying out.
- Freezing: Want to save some for later? You can freeze Red Velvet Cheesecake! Slice it, wrap each piece in plastic wrap, and store it in a freezer-safe bag. It will stay good for up to 2-3 months.
- Room Temperature: Never leave cheesecake out at room temperature for too long—no more than 2 hours. Cheesecake can spoil quickly, so keep it chilled until you’re ready to serve.
- No Toppings in Storage: If you have whipped cream or fresh berries on top, store those separately. They might get soggy if left on the cheesecake for too long.
With these easy storage tips, you can enjoy your Red Velvet Cheesecake for days or even weeks to come!
Variations of Red Velvet Cheesecake
The beauty of Red Velvet Cheesecake is how versatile it is. You can change it up to suit different tastes or dietary needs. Here are some fun variations to try:
Mini Red Velvet Cheesecakes
Mini versions are perfect for parties or a smaller treat. You can bake them in muffin tins for individual servings. They’re just as delicious as a full-sized cheesecake but easier to serve.
Red Velvet Cheesecake Bars
If you want a quick and easy version, make Red Velvet Cheesecake Bars. These bars are easy to cut and serve, and they’re perfect for a bake sale or gathering.
Gluten-Free Red Velvet Cheesecake
If you’re gluten-free, don’t worry! You can make this cheesecake using gluten-free graham crackers for the crust. Just swap regular flour with a gluten-free option, and you’ll still get that creamy, dreamy texture.
Vegan Red Velvet Cheesecake
For a vegan version, use plant-based cream cheese and a dairy-free crust. You can even use flax eggs or chia eggs to replace regular eggs, making this cheesecake suitable for those following a plant-based diet.
Red Velvet Cheesecake with White Chocolate
If you love the flavor of white chocolate, add some to your Red Velvet Cheesecake. You can either mix it into the batter or drizzle melted white chocolate on top for an extra layer of sweetness.
Conclusion
Making Red Velvet Cheesecake is all about having fun and getting creative! Whether you’re decorating it with whipped cream, fresh berries, or sprinkles, or trying different variations like mini cheesecakes or gluten-free options, you’ll end up with something delicious.
By avoiding simple mistakes like overmixing or underbaking, and following proper storage techniques, you can enjoy your cheesecake for days without losing that amazing flavor and texture.
So, get baking and remember: no matter how you make it, Red Velvet Cheesecake is always a treat that’s sure to make anyone smile!